
Overview
- Create a Webflow CMS collection
- Create a form submission in Webflow
- Set up an automation in Zapier
- Download our PDF from CloudConvert
Create a Webflow CMS Collection
First you will need to create a collection in Webflow. In this example we have created an invoice collection for our clients. This will allow us to auto generate a PDF invoice for our clients each time a new one is created.
Here is our example collection. Set it up to include all the fields you would like to appear on your PDF. Make sure to use text fields for any number/date inputs to avoid any errors when setting up our automation in Zapier.

Create a CMS collection page to display your dynamic content as you will need the unique URL item created for each item to make the PDF. Again, style this however you want it to appear on your PDF.

Create a form submission in Webflow
Now you will need to create a form in Webflow so you can submit the data you need to Zapier. You will need to make sure that you include all of the fields from your Webflow CMS collection that you want to be included in the final PDF.
For this we created a 'create invoice' page in Webflow and built out a form using the previous invoice template. To save time you can also create a simple form with the inputs you need without styling it to match the invoice collection page.

Set up the automation in Zapier
Our automation will have 3 steps We will be linking Webflow to CloudConvert, so make sure you have a CloudConvert account set up. Make sure your site in Webflow is published and you have submitted your invoice form before creating your zap.
Step 1:
In Zapier, select 'form submission in Webflow' as the trigger. Then follow the steps to select your site and the form you used to create the invoice. Our form in this example is named 'create invoice form' so we will make sure to select this option. Then test your action, if you have correctly set up and submitted your form in Webflow then Zapier will pull in all of the correct information.

Step 2:
The next step in Zapier will be 'create a live item in Webflow'. Again follow the steps to make sure you link to the correct project and form you have set up in Webflow. Now we need to link all of the fields in Zapier to those we created on our form in Webflow.

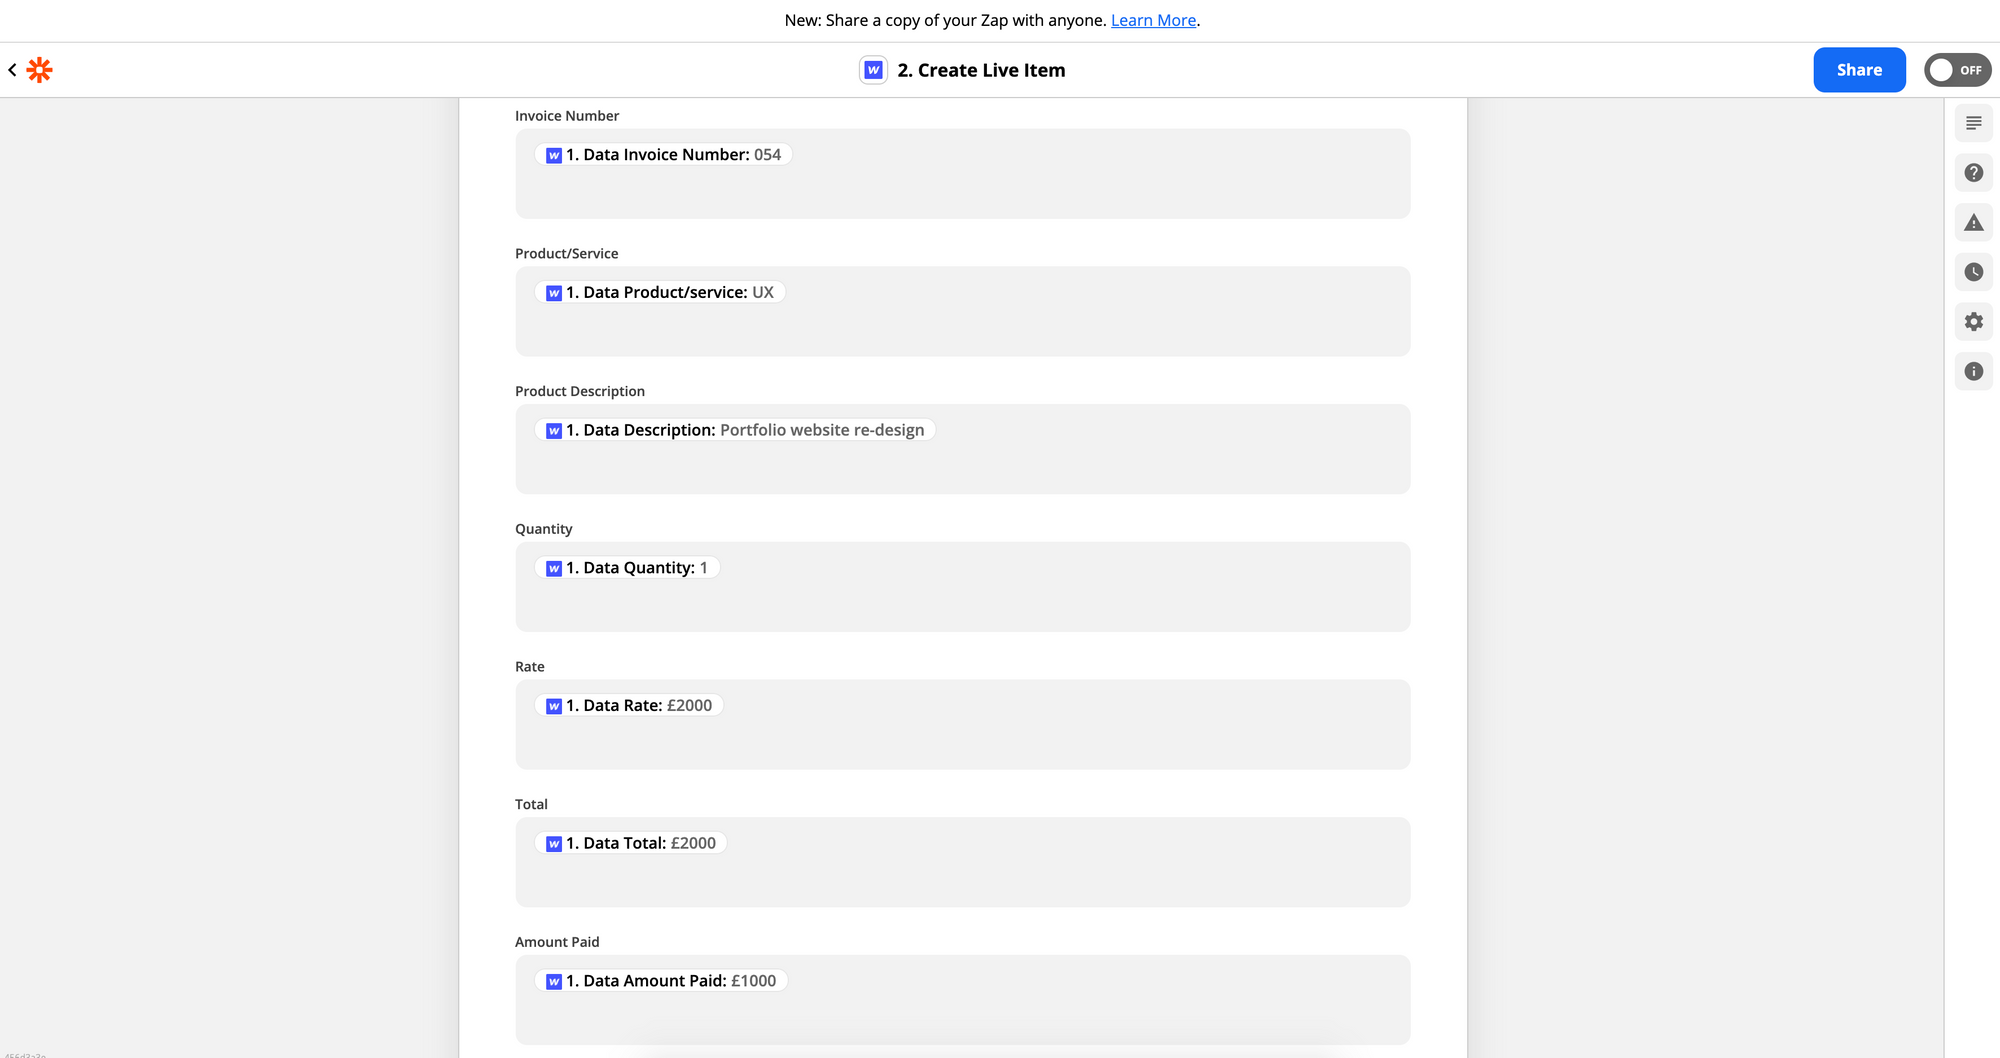

Click test & continue. If any issues arise go back and make sure all your fields in Webflow are set up as text fields, number fields on your invoice may cause Zapier to return a 'validation error'.
Step 3
For step 3 we will select 'CloudConvert' and choose 'Capture a Website' To capture the correct page, we will need to enter our website URL into the 'URL' field in Zapier, followed the slug (make sure there is a / before the slug). Our slug has been generated from the 'name' field from the previous step, which we set to be the invoice number followed by the customer name. For the output format make sure PDF is selected.

Next we can then format our PDF, with a number of options including number of pages, page height/width, margin sizes, filename, tags. Here we have just set our margins to be 5mm (0.5cm) and left the rest of the fields as standard. You can change these fields however you wish the output PDF to look.

Click test & continue.
Once the automation has completed, log in to your CloudConvert account.
Go to Dashboard, then jobs from the left hand menu.
Select the recently uploaded job, then click the red page icon to download the PDF.
.gif)

.png)
